I have been trying to get all the little parts of the eventual whole, together before my peeps come over.
As I slowly learned about wedding invitations, and all the fun things you can do to them, and dress them up. I kind of decided I want to do everything possible. Everything. I had never heard of envelope liners before I started looking in to doing my wedding invites. I immediately thought "Ehh, thats unnecessary". Here we are 8 months later and they are so necessary, well maybe not. I will tell you why I think so.
First we have to start with Paper Source, have you heard of this place, have you been here? I ran across the website and all the awesome resources here, I especially love the outline of all the possible tools and things to do and use for your invitations.
I will go over every step in creating my own invitations, and I will give you my review at the very end. Worth it or not worth it? Time will tell my blog friends time will tell.
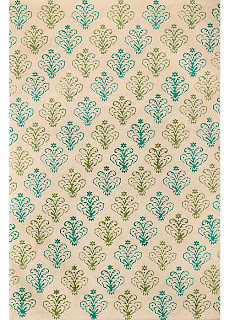
You can use anything to make envelope liners, scrapbook paper, glitter paper, fine handmade papers. This Napelese paper is gorgeous, absolutely to die for, sadly it is way out of my price range. I still like to admire.


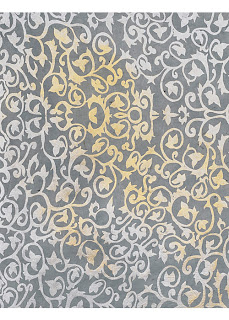
After Christmas I headed to my favorite store, Target (well favorite after to Home Goods). I picked up two half rolls of silver damask wrapping paper for about 2 dollars a roll. I was able to cut out all the big envelope liners and the small response card liners with the two rolls and a little left over. You can also find perfect wrapping paper for this sort of thing at places like Party City, The Container Store, and The Hallmark Store.
lay the template out and trace or if you don't have or don't want to buy the envelope templates.
You can do this route:
You can do this route:
You aren't going to be like me and use your BRAND NEW OLFA to cut PAPER which you were taught was a cardinal sin-- A SIN over and over by your 8th grade Home Ec Teacher Mrs. Hendershot. In case you were never taught---do not use the same cutting tools for paper and fabric. Paper dulls the blade, way to go little woman.
CLEAN CUT! You can use it as it or laminate it and use for a template.
Place the liner right in the envelope, very simple.
Bend the liner back making a crease.
This thing is so nifty, its a tape runner, it holds very sticky adhesive.
You can find them at your local craft store.
You only need to put adhesive on the top of the liner.
Simply apply pressure and its done!
For 4 dollars and a little extra effort, I stepped up the look of my invitations like woah.
I cant wait for you to see how it all comes together.
For 4 dollars and a little extra effort, I stepped up the look of my invitations like woah.
I cant wait for you to see how it all comes together.
For some people this was a duh tutorial--
I just hope it wasn't as obvious as Rachel Rays Late Night Bacon "recipe".
Stay tuned for more steps!!


Oh you are my absolute hero, I so admire your craftiness and energy - making your own invitations!! I love this idea of making custom envelope liners, totally not as obvious as late night bacon!
ReplyDeleteI'm stopping over from 20SB where I noticed you're a newer member. Welcome, Kylee! You have such a lovely blog here. Congratulations on your impending nuptials, and I can't wait to see what other wedding craftiness the blushing bride has up her sleeve ♡
SO PRETTY!!! and i'm loving your site design :D
ReplyDeleteOh lovely idea! I'd love to have a DIY wedding with all personal touches that you'd spent time and effort on! Such pretty papers too btw!
ReplyDeleteEmma
http://www.thepolkadotte.blogspot.com